

Setting Up RabbitMQ Clusters for High Availability

Graduated in 2021. Later worked as an Associate for 6-months in MNC. Later joined the fellowship at BootCamp in backend development. Currently preparing for interviews.

RabbitMQ, the open-source message broker, is a vital tool for managing communication between different parts of an application. In this article, we're diving deep into setting up RabbitMQ clusters for high availability using Python. We'll cover everything from the basics of RabbitMQ to the intricacies of clustering and the Python code needed to interact with it.
Introduction to RabbitMQ
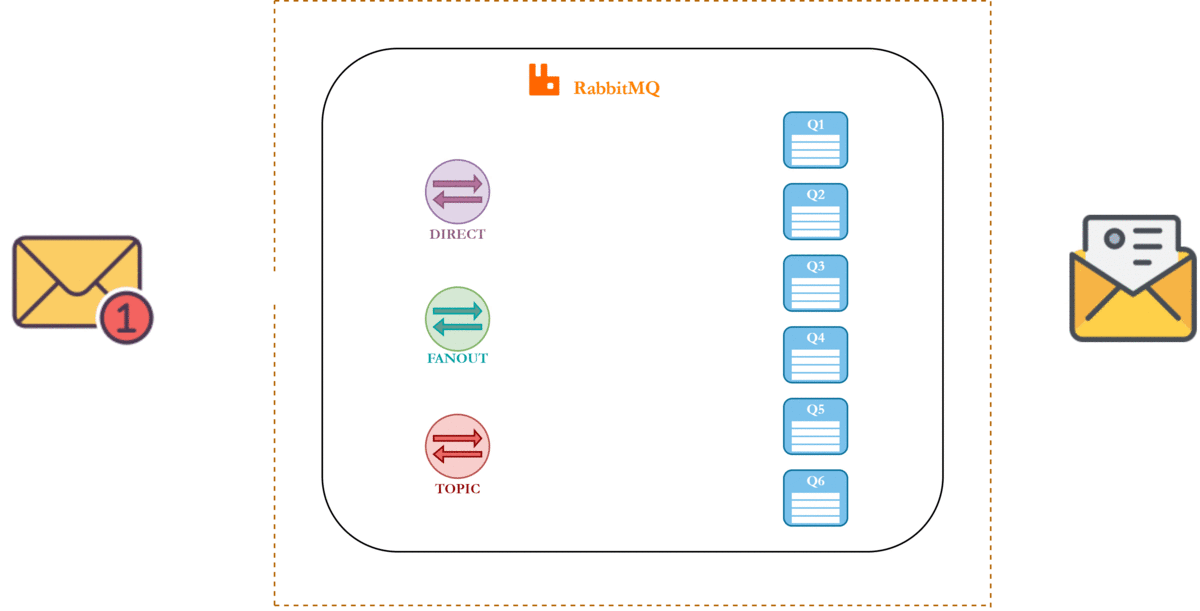
RabbitMQ is a message broker that allows applications to communicate with each other asynchronously. It supports various messaging protocols, most notably AMQP (Advanced Message Queuing Protocol). RabbitMQ is widely used for its reliability, scalability, and ease of use.
Why Cluster RabbitMQ?
Clustering RabbitMQ enhances its reliability and availability. In a cluster, multiple RabbitMQ nodes work together, ensuring that if one node fails, others can take over, preventing any disruption in the service.
Setting Up a RabbitMQ Cluster
Prerequisites
Multiple server instances (physical or virtual)
RabbitMQ installed on all instances
Python environment set up
Step 1: Configuring RabbitMQ Nodes
Each RabbitMQ node must have a unique name and share the same erlang.cookie file. This file is used for authentication between nodes in the cluster.
On each node, edit the RabbitMQ config file:
nano /etc/rabbitmq/rabbitmq.conf
Add the following:
cluster_formation.peer_discovery_backend = classic_config
Step 2: Copying the Erlang Cookie
Ensure all nodes have the same erlang.cookie:
scp /var/lib/rabbitmq/.erlang.cookie user@othernode:/var/lib/rabbitmq/
Step 3: Starting RabbitMQ Nodes
Start RabbitMQ on all nodes:
sudo systemctl start rabbitmq-server
Step 4: Forming a Cluster
Choose one node as the master. On the other nodes, run:
rabbitmqctl stop_app
rabbitmqctl reset
rabbitmqctl join_cluster rabbit@master_node
rabbitmqctl start_app
Replace master_node with the hostname of the master node.
Interacting with RabbitMQ in Python
Python developers can use pika, a RabbitMQ client library, to interact with a RabbitMQ cluster.
Installing Pika
bashCopy codepip install pika
Python Code Example
Here's a basic example to send and receive messages in a RabbitMQ cluster.
Sending a Message
import pika

connection_params = pika.ConnectionParameters('master_node_hostname')
connection = pika.BlockingConnection(connection_params)
channel = connection.channel()

channel.queue_declare(queue='hello')

channel.basic_publish(exchange='',
                      routing_key='hello',
                      body='Hello World!')

print(" [x] Sent 'Hello World!'")
connection.close()
Receiving a Message
import pika

def callback(ch, method, properties, body):
    print(f" [x] Received {body}")

connection_params = pika.ConnectionParameters('master_node_hostname')
connection = pika.BlockingConnection(connection_params)
channel = connection.channel()

channel.queue_declare(queue='hello')

channel.basic_consume(queue='hello',
                      auto_ack=True,
                      on_message_callback=callback)

print(' [*] Waiting for messages. To exit press CTRL+C')
channel.start_consuming()
Conclusion
Setting up a RabbitMQ cluster for high availability is a robust way to ensure that your application's message communication is reliable. By following the steps outlined above and using Python for interaction, you can effectively utilize RabbitMQ's powerful features in a distributed environment.
Further Learning
Explore RabbitMQ’s management plugin for monitoring and managing the cluster.
Consider using Docker or Kubernetes for easier deployment and scaling of RabbitMQ clusters.
Dive into more advanced RabbitMQ features like exchanges, routing keys, and bindings.
This provides a foundation for building highly available messaging systems with RabbitMQ and Python. Happy coding!


