Table of contents
Introduction
Asynchronous programming in Python has seen a significant evolution, particularly with the advent and integration of tools like RabbitMQ and Celery. These technologies have transformed the way developers handle background tasks, schedule jobs, and manage distributed systems. In this article, we'll dive deep into how RabbitMQ and Celery are shaping asynchronous programming, including real-life examples and a thorough elaboration of their functionalities.
Understanding RabbitMQ
What is RabbitMQ?

RabbitMQ is an open-source message broker software that originally implemented the Advanced Message Queuing Protocol (AMQP). It facilitates the efficient handling of messages between different components of a distributed system, enabling developers to create scalable and decoupled architectures.
Key Features:
Reliability: RabbitMQ ensures message delivery through features like message acknowledgments and durable queues.
Flexible Routing: Messages can be routed through exchanges before arriving at the queues, supporting complex routing logic.
Clustering and High Availability: It supports clustering, which ensures high availability and reliability of the messaging system.
Delving into Celery
What is Celery?

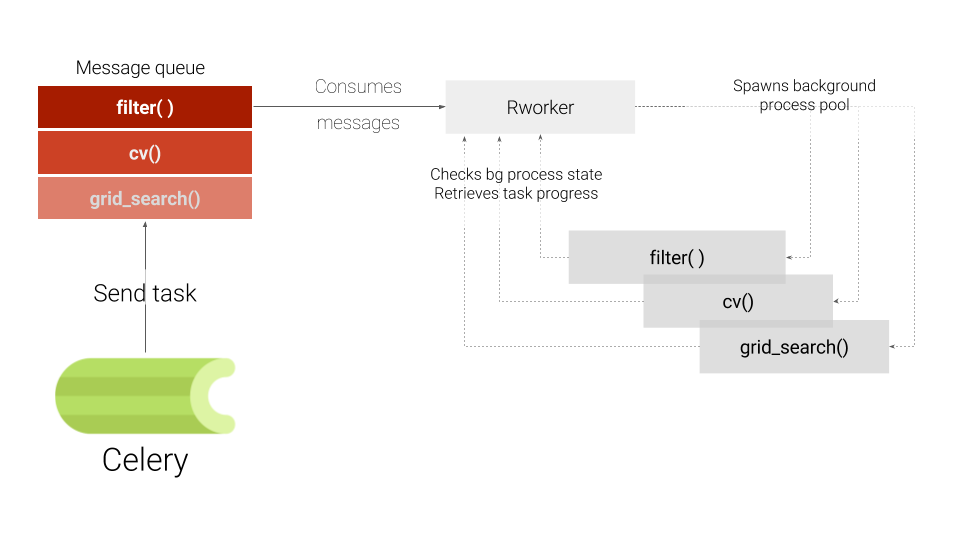
Celery is an asynchronous distributed task queue system written in Python. It excels in handling distributed real-time processing, with support for scheduling as well.
Key Features:
Distributed Nature: Celery allows the distribution of work across threads, processes, or even networked machines.
Integration with Message Brokers: It can be used with several message brokers, including RabbitMQ, Redis, and Amazon SQS.
Flexible and Scalable: Celery scales easily and can process millions of tasks daily, fitting into simple or complex workflows.
RabbitMQ and Celery in Action

Now, let’s see how RabbitMQ and Celery can be used together in a Python environment to implement asynchronous task processing.
Scenario: Email Notification System
Imagine we're building an email notification system where users receive an email after completing a specific action. This process should not block the main application flow.
Setting Up RabbitMQ
Before we dive into the code, ensure you have RabbitMQ installed and running.
Celery Configuration
First, install Celery using pip:
pip install celery
Create a new file named celery_worker.py and set up Celery with RabbitMQ as the broker
from celery import Celery

app = Celery('email_tasks', broker='pyamqp://guest@localhost//')

@app.task
def send_email(user_id, message):
    # Logic to send email
    print(f"Email sent to user {user_id} with message: {message}")
In this code snippet, we define a Celery application and a task send_email which simulates sending an email.
Running a Celery Worker
Run the Celery worker from the terminal
celery -A celery_worker worker --loglevel=info
Integrating with the Application
In the main application, import the send_email task and use it
from celery_worker import send_email

# Triggering the email task
send_email.delay(user_id=123, message='Welcome to our service!')
The delay method sends the task to the RabbitMQ queue, and the Celery worker picks it up for processing.
Conclusion
The combination of RabbitMQ and Celery provides a robust solution for asynchronous task handling in Python applications. RabbitMQ's reliable messaging and Celery's distributed task management capabilities make them an excellent choice for modern, scalable, and efficient backend systems.
What's Next?
Explore advanced features like:
Setting up RabbitMQ clusters for high availability.
Using Celery's scheduling features for periodic tasks.
Implementing retry policies and error handling in Celery tasks.

